State the requirement
Record the buyer's final-product detection requirement, instrument, challenge pieces, product orientation and traceability. Identify where the magnetic component changes the instrument response.
Factory integration / sewing & inspection
Turn the magnetic strip drawing into a controlled assembly process. Define the needle route, end retention, detection method and sample records before releasing a production line.
OEM components · matched A/B constructions · project-specific review
 Component reference
01 / Dimension the boundary
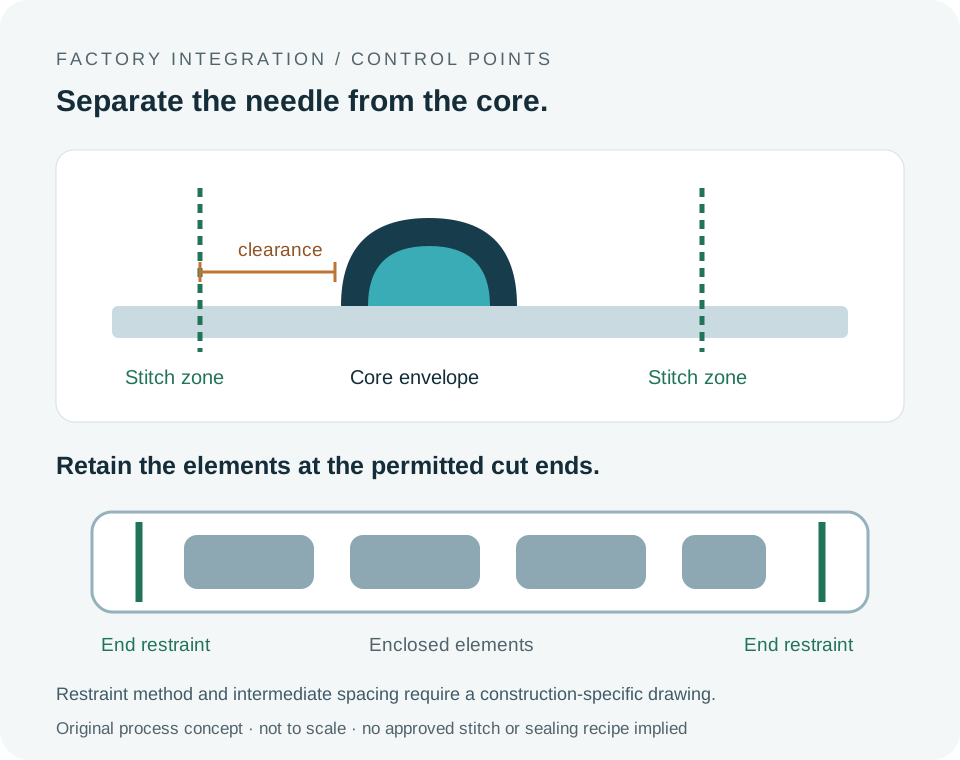
Show the full core envelope and the closest permitted stitch line on the section drawing. Include the sleeve, seam allowance, presser-foot footprint and position variation when feeding the actual material.
A universal flange width cannot establish needle clearance for every construction. Set the clearance and its tolerance on the approved drawing. Do not stitch through a hard magnetic element or use a photograph to estimate the hidden core position.
Before sewing, check attraction to the plate, foot, guides and nearby tooling. Trial the selected machine, needle system, thread and feed setup on a controlled coupon with the factory technician.
Supplier context: machine attraction and fabric gap →02 / Work-instruction sequence
Use this planning sequence to prepare your construction-specific work instruction. Machine settings and acceptance limits come from the approved sample and line trial.
| Station | Operator action | Record / hold point |
|---|---|---|
| Incoming pair | Match A/B labels and direction to the drawing; inspect the sleeve and carrier. | Material lot, drawing revision, pair IDs and visible damage. |
| Cut preparation | Locate permitted cut gaps or the continuous-stock cut method; identify inactive end allowance. | Finished length, cut location and element position before cutting. |
| End retention | Apply the approved sleeve closure or restraint. Keep reinforcement clear of hard elements. | End method, restraint location and containment check; no open escape path. |
| Machine setup | Set the guide, foot, needle system, feed and stitch route using the actual fabric coupon. | Machine/needle/thread identity and approved trial settings. |
| Assembly | Preserve A/B direction; keep the carrier flat and the contact face free of seam distortion. | Stitch position, local gaps, twisting and paired closing action. |
| Condition & release | Run the agreed handling/care checks, containment inspection and detection controls. | Results, deviations, responsible approval and retained reference sample. |
Core boundary · cut end · retention
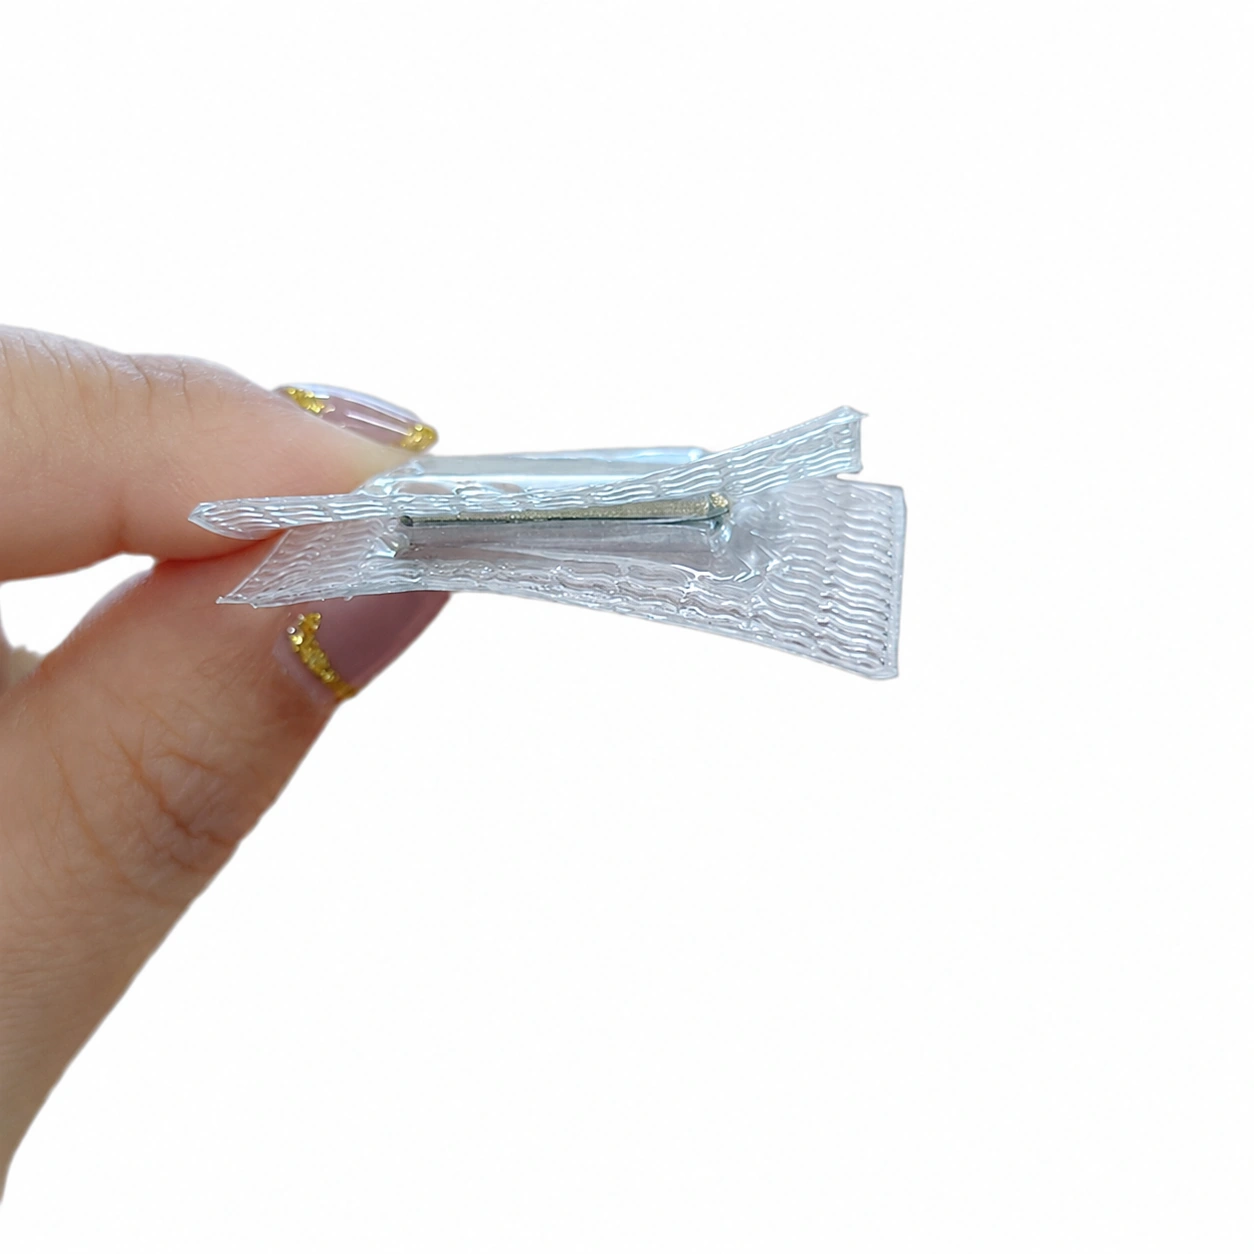
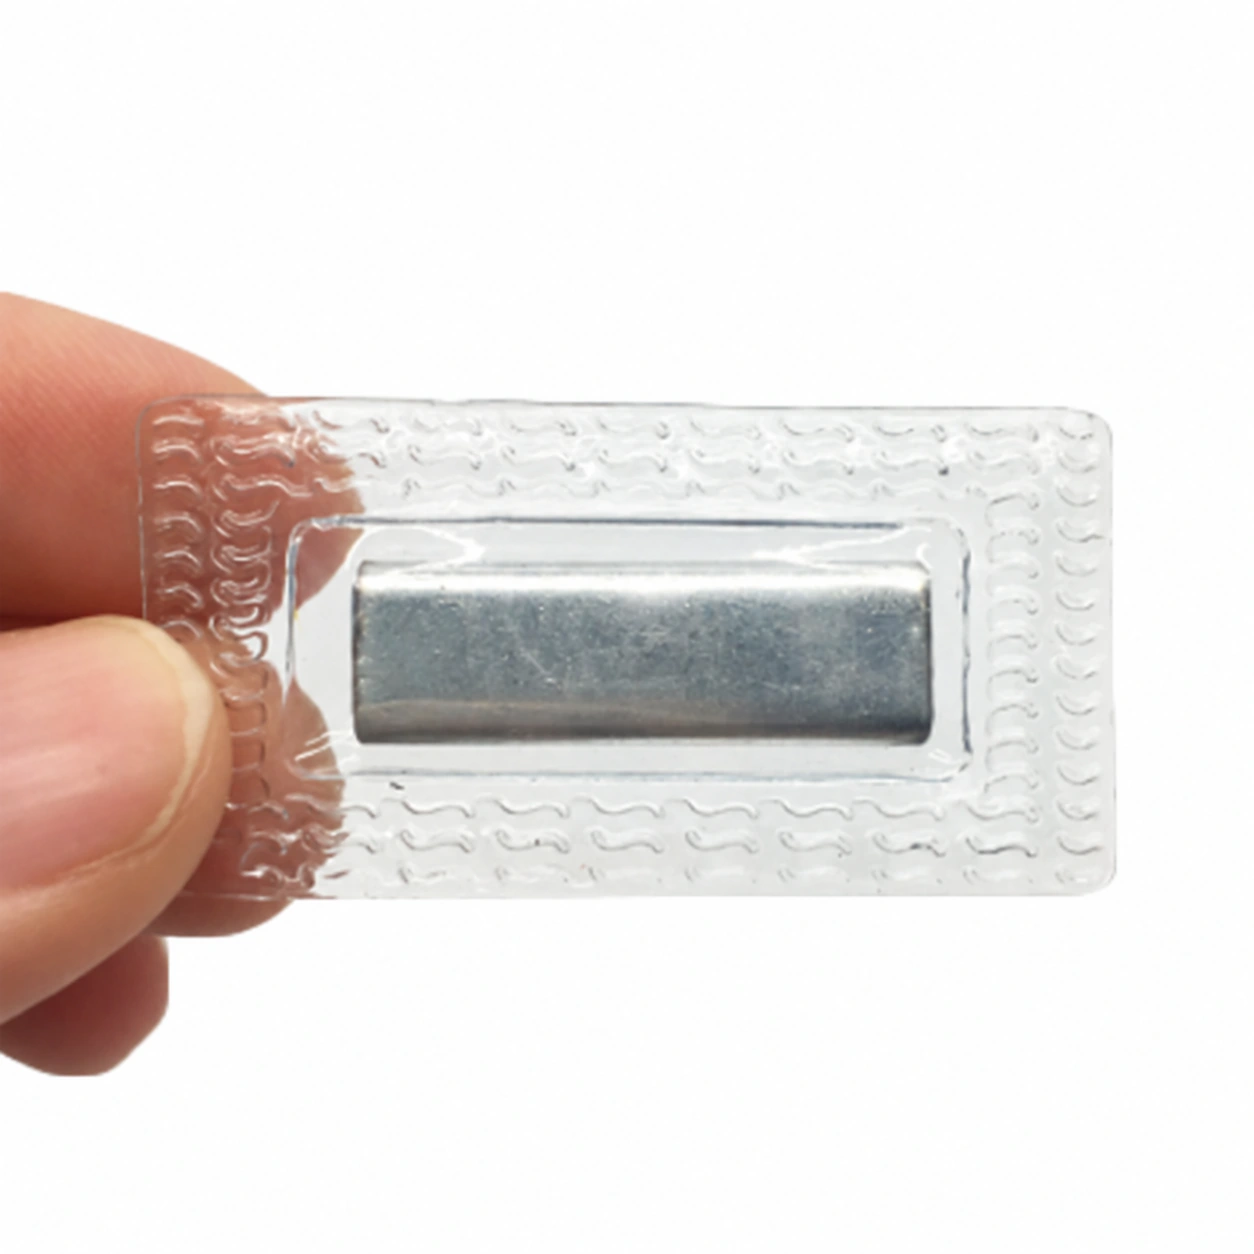
Link reference views to a drawing and work instruction; photographs do not establish approved sewing or sealing dimensions.
 Component reference
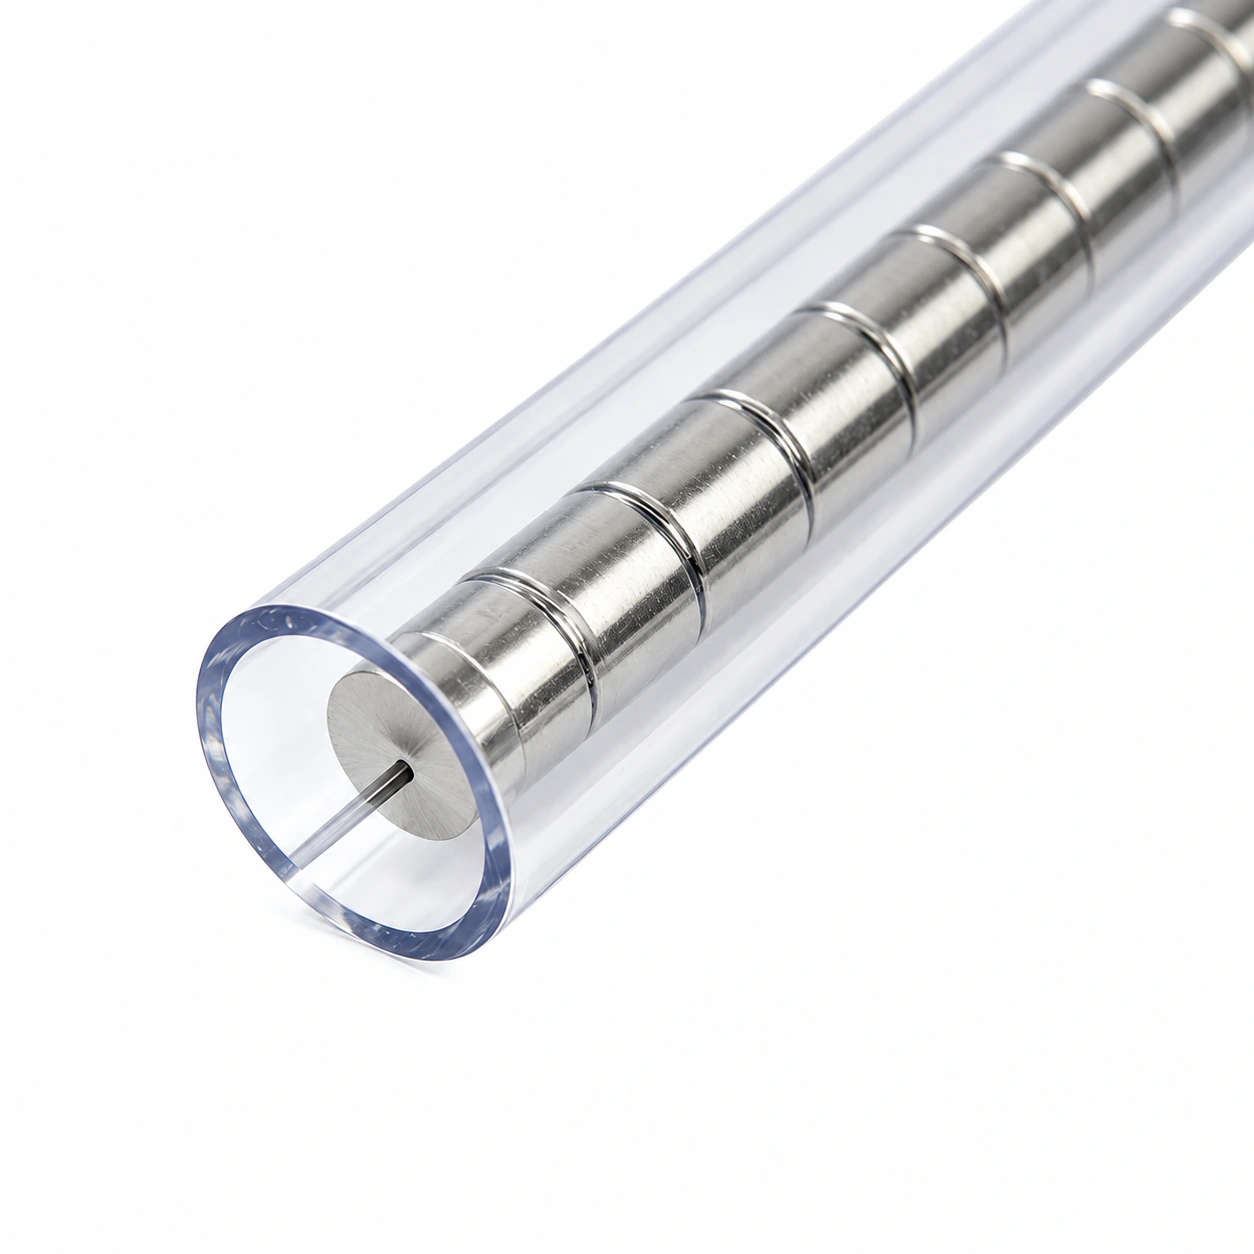 Component reference
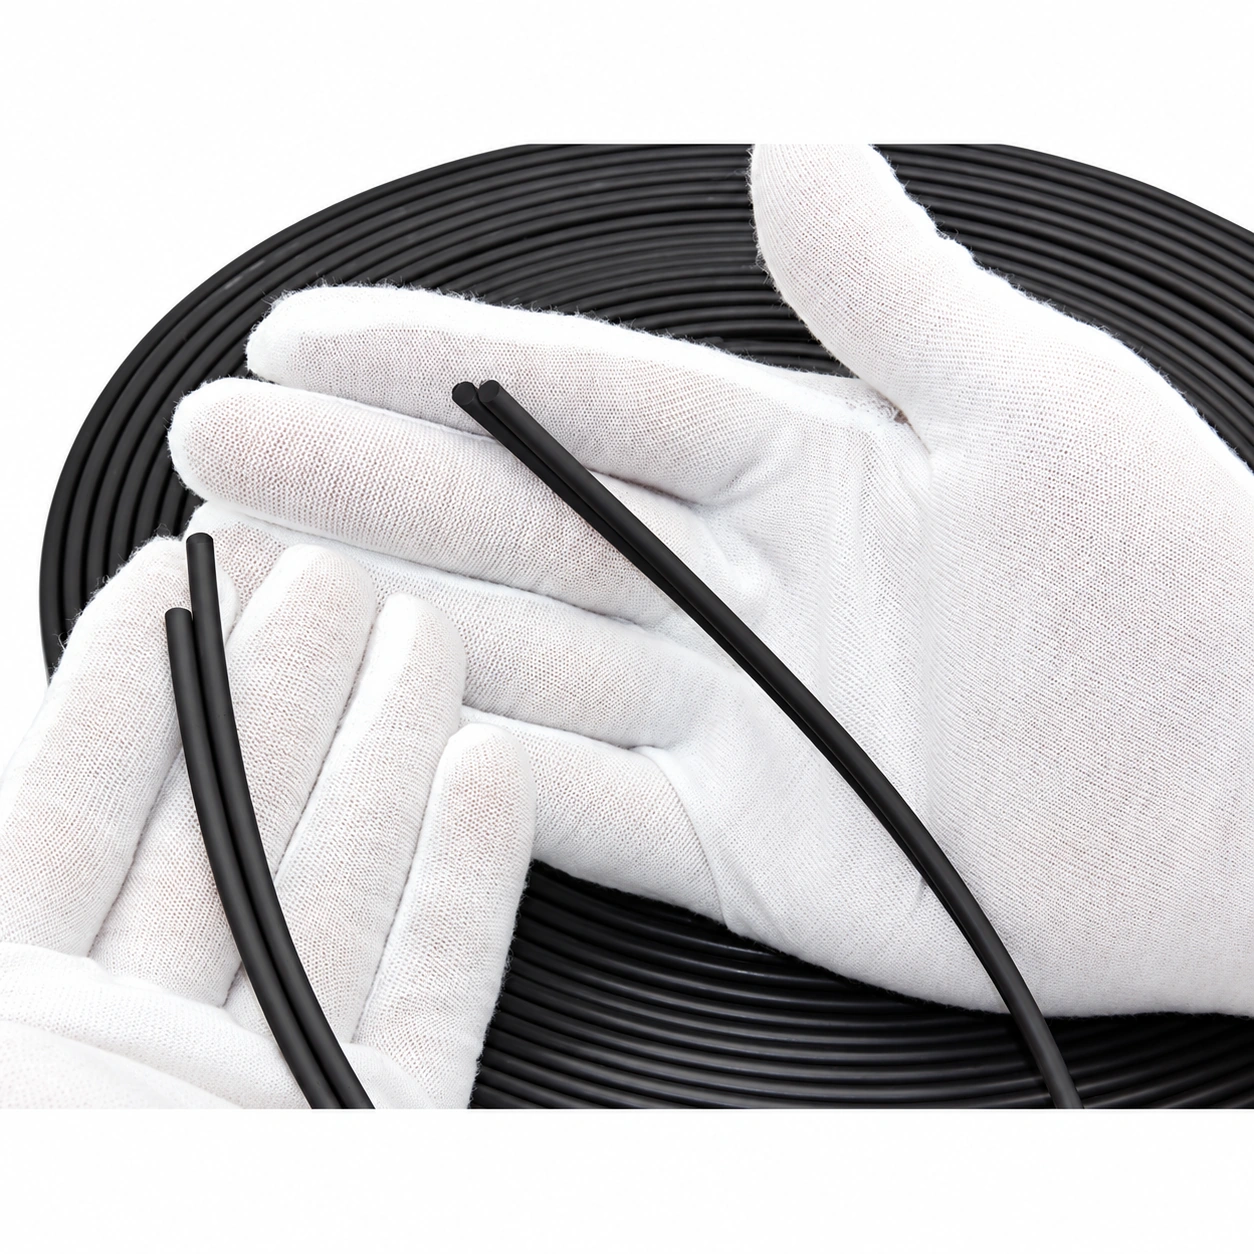 Material reference
Prepared material, component and application references. The selected construction and finished specifications are confirmed for your project.
03 / Needle detection & broken-needle control
A magnetic component can influence a metal/needle detector. Component installation and garment inspection need a documented sequence with verified detection capability.
Record the buyer's final-product detection requirement, instrument, challenge pieces, product orientation and traceability. Identify where the magnetic component changes the instrument response.
If pre-inspection or later component insertion is proposed, document the controls after that inspection and obtain buyer/quality approval. A changed assembly sequence does not itself prove final-product coverage.
Keep broken-needle reconciliation, station segregation, reinspection and lot hold/release records. A different needle alloy or an untested detector setting is not an inspection solution.
Use a line trial and the responsible quality team's acceptance record. This guide does not prescribe bypassing a required detection step.
04 / Substrate & joining
| Route | Define before the trial | Evaluate on the real assembly |
|---|---|---|
| Sewn channel / flange | Core boundary, stitch clearance, channel allowance and end restraint. | Needle/foot attraction, seam distortion, drape and containment after care. |
| Leather recess / piping | Prepared leather thickness, groove or channel, lining and reinforcement. | Remaining section, stitch damage, loaded opening and surface marking. |
| RF or heat joining | Actual film/coating, lip and end geometry, tooling and process window. | Time, temperature or power, pressure, seam condition and finished-opening exposure. |
| Adhesive / laminate | Substrate, coating, surface preparation, adhesive identity and cure/press process. | Peel and edge lift after bending, washing, humidity and the intended temperature. |
05 / Evidence, labels & approvals
Ask which documents match the actual material, colour, enclosure and sample revision. A standard number or an unrelated report cannot establish the supplied assembly's performance.
| File | Match to the sample | What the record must show |
|---|---|---|
| Drawing & work instruction | A/B pair, material, carrier, end detail and assembly revision. | Dimensions, process route, inspection points and responsible sign-off. |
| Mechanical / care evaluation | Full specimen, fabric gap, enclosure and attachment. | Fixture, direction, speed, conditioning, actual results and failure observations. |
| Chemical / material documentation | All relevant layers, colourways and intended market/use. | Issuer, date, scope, material identity and the buyer-required assessment. |
| Consumer information | Intended wearer, care process and foreseeable enclosure damage. | Reviewed inspection, care and magnet warnings for the finished product. |
| Design / IP review | Final geometry, intended markets and commercial arrangement. | Project-specific review; a different series name is not patent clearance. |
Include enclosure damage and accessible elements in the intended-user review. For suspected magnet ingestion, seek immediate medical attention.
CPSC magnet guidance →Follow device-manufacturer instructions and involve the wearer's healthcare professional. This closure has no universal implanted-device clearance.
FDA interference context →Keep the laboratory plan and any certification scope separate from line instructions. Agree requirements before the sample evaluation.
Testing & evidence review →Fill in the drawing, machine, needle route, end retention and detection records.
Download .txtDraft wording and approval fields for the finished-product team to adapt and review.
Download .txtRecord methods and real results against the proposed construction.
Download .txtTechnical guide reviewed 19 October 2026. Original planning worksheets; no laboratory certificate, approved factory recipe or pre-approved retail label is represented.
Buyer questions
No. Carrier width and the distance from the nearest core edge are different dimensions. Approve the stitch route, position variation, sleeve and foot clearance on the selected construction drawing.
Retention depends on the enclosure and element layout. Specify approved end and intermediate restraints, keep needles clear of hard elements, and verify containment after the required handling and care.
No automatic exemption is established. Any proposed change to the sequence requires a validated control plan and the responsible buyer/quality approval, including controls for subsequent assembly operations.
No. State the intended market, materials, wearer and evidence requirement. Applicable assessment and document availability must be confirmed for the actual sample and finished product.
R&D sample selection
Share the opening length, fabric stack and intended use. Discuss a paired sample selection before committing to a production specification.
Sample contents, availability and shipping are confirmed for your project.